
Winter can be an overlooked season for the mid-latitude boat. Even if you don’t snowbird south for the tropics, good times aboard can still be had. Put on your hat and head on down to the boat, because winter is a fine string of months for boat projects.
Whisker Pole
Most sailboats would benefit from the addition of a whisker pole. Stabilizing the headsail while sailing off the wind will add speed and reduce roll. The classic image of trade wind sailing dead downwind with sails set wing on wing is easy to envision. I’ve also learned to use my pole on a broad reach with the genoa poled out on the same side as the double-reefed main. The pole stabilizes the headsail and gives it excellent shape. The reef in the main protects that sail against spreader chafe while also letting the breeze past to fill the headsail. With the main already shortened, this sail combo is easy to reef further by rolling in some genoa. The pole is key here—you’d never be able to keep the genoa full at this deep an angle without it.
It’s easy to partially or completely furl or unfurl the headsail without lowering the pole. In fact, with a forecast for downwind sailing, I’ll often attend to the work of setting up my pole before I even pull up the anchor and get under way.
A whisker pole can also be used to support the tack of an asymmetrical spinnaker, or a hammock, or a dinghy hoisting bridle, or the forward end of a winter cover.
A good whisker pole is big. It’s like having a second boom onboard, and finding a place to stow it can be a challenge. A telescoping pole built from carbon fiber helps reduce this challenge by shrinking the stowed length of the pole and lightening it for easier handling. A telescoping pole will also be helpful for accommodating different sized headsails. Vertical storage on the front of the mast offers the best way to tuck away your new favorite spar when not in use.
Forespar Marine makes top-quality telescoping whisker poles built from aluminum and/or carbon fiber in a variety of lengths. They also offer track and hardware for on-mast storage.
Any whisker pole will require a carefully planned web of running rigging. The outboard end of the pole must be supported by a topping lift (or spare spinnaker halyard) and both a foreguy and afterguy. Deck hardware for this running rigging can oftentimes be accomplished cleanly with moveable soft attach blocks. To avoid lifeline chafe on the genoa sheet, it can be helpful to rerun the sheet to a snatch block attached to the stern quarter. Forespar offers excellent technical support, and they can help guide you through the rigging and use of your new pole.
Parts: $2,000 to $5,000+ depending on boat size and choice of pole material
Labor: 10 hours (mostly for mounting a mast track and associated hardware).
Deck Prism

Lighten up the cabin of your boat with a deck prism. A simple solid hunk of glass can be shaped to put out an impressive glow using no electricity at all. It’s a cool retro technology that delivers the same sort of pleasure you get from vinyl records. (Or more specifically, like “Dark Side of the Moon” on vinyl.)

Deck prisms are usually mounted within a bronze frame. They are extremely durable and will last forever. They are walkable and can be mounted anywhere on deck. Cored decks should be epoxy sealed after the mounting hole has been cut. A custom teak (or other wood) trim ring will provide a finished look to the new opening in the headliner down below. If you happen to have a deck core project already scheduled, this could be a cool way to jazz up the finished product, or the prism could even be installed to cover a scar.
Parts: Davey & Company $300
Labor: 6 hours

Cabin Heat
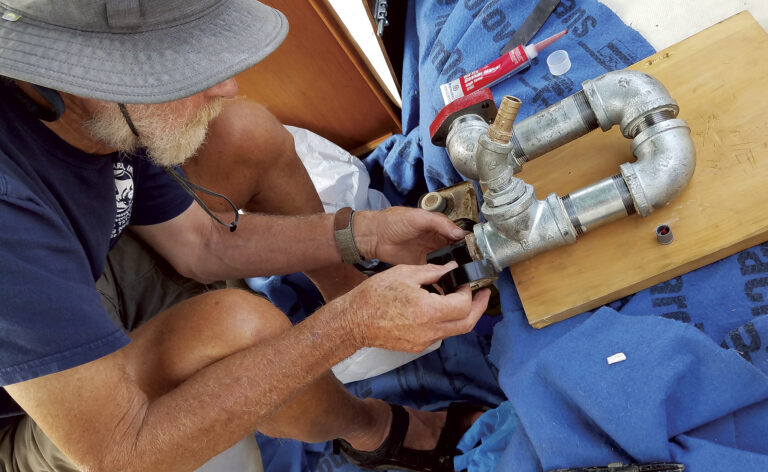
Pump 28,000 Btu of heat into your boat for under $400. Sound too good to be true? Well, it can be done! The simple install of an engine coolant loop heater turns engine heat into cabin heat. Every car on the road has this system and there’s no reason your boat can’t be heated this way too.
Most sailboats use a similar engine coolant loop to make hot water when the engine is running, but for some reason, few boats take advantage of the same basic thermal transfer to provide cabin heat. There’s no reason you can’t do both.
To install, just add the cabin heater to the coolant loop that’s already running from the engine to the water heater and back. The engine consumes fuel of course, but the process of transferring the excess heat into the cabin is absolutely free. When the wind dies and you have a long stretch of motoring in cool weather, there’s no sense in sending all that engine heat out the exhaust pipe while your crew shivers in a cold, damp cabin.
The model I chose for my 36-foot Morris Justine is about the size of a shoebox. I mounted it close to the center of the cabin under the galley sink. An internal 12-volt fan blows hot air out two vents that warm the cabin quickly. When I don’t want heat, or the engine isn’t running, I just turn the fan off to shut it down.
A heater is a fun project to think about on a cold winter day, but unfortunately you may have to wait a bit before you can enjoy the fruits of your labor. If your boat’s on the hard, you probably won’t want to run the engine until she’s launched in the spring. When the time finally does come to start the engine, don’t forget to replace lost antifreeze and bleed any air out of the new and longer coolant loop.
The obvious downside to the engine-provided heat is that it doesn’t work when the engine isn’t running—not optimal for that blustery beat to windward or a cold night on anchor. Yet even with this shortcoming, the engine coolant loop heater is so simple and the benefit so great, it’s hard to justify not adding one of these to your boat.
Parts: Heater Craft 200 $370
Labor: 12 hours

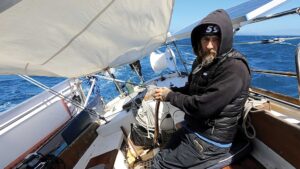
Leather Wheel Cover
A leather cover adds warmth, comfort, grip, and style to your boat’s steering wheel. Edson offers kits with pre-punched leather and complete tutorials for installation. Unlike most winter boat projects, this one can be completed while sitting by the wood stove with your dog at your feet. Just remove the wheel from the boat, bring it home, and do the work there. Sewing leather is satisfying work, and this project is a great way to connect with your boat in the winter without freezing your tail off in the boatyard. Admiring your handiwork when sailing will always remind you of a winter afternoon by the fire well spent.
Don’t have a wood stove, or a dog, or a sewing needle? No problem. Ship your wheel to Edson and they’ll sew the leather cover onto your wheel for you.
If you really get into this project, Edson also offers leather kits for turnbuckle covers and spreader tip covers.
Parts: Edson $275 (Prices vary with wheel dimensions)
Labor: 4 hours
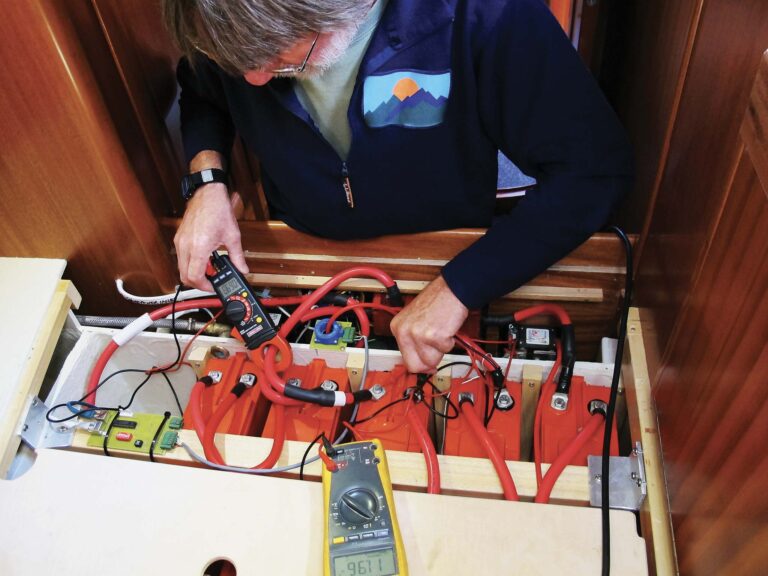
Battery Monitor
Battery monitors have advanced dramatically in recent years, and I have found the Victron Energy BMV 712-Smart to be the best of the bunch. This device is relatively simple to install, and the display on the connected phone app provides an impressive data array. Not only can you track the state of charge of your batteries and real-time power consumption and production, you can also review historical power usage and generation data.
Access to this information allows you to make bold declarative statements like: “The house bank is at 88%. Nav instruments and running lights are consuming 111 watts. At this rate of burn, we have 39 hours of battery life remaining. We should be able to easily make it through this night sail without running the engine.” Or, later when the anchor’s down, “The house bank stands at 71% and solar output is strong, we’re netting 463 watts. Now is an excellent time to plug in the ice maker and whip up some drinks.”
Installation involves adding an inline shunt to the negative DC cable near the battery. The small, round Victron display wires to the shunt. Your phone then connects via Bluetooth to the display. The Victron phone app provides much more information than the wired display, and in practice you may never use the wired display at all. I see this as a bonus, because you don’t need to put in the effort to mount it in a prominent spot—a project that would likely take up lots of time and consume limited top quality mounting real estate in the nav station. Instead, you can stick it in a corner somewhere near the batteries and never look at it, relying solely on the much better Bluetooth display.
Parts: Victron Energy BVM 712-Smart Bluetooth battery monitor: $200
Labor: 6 hours

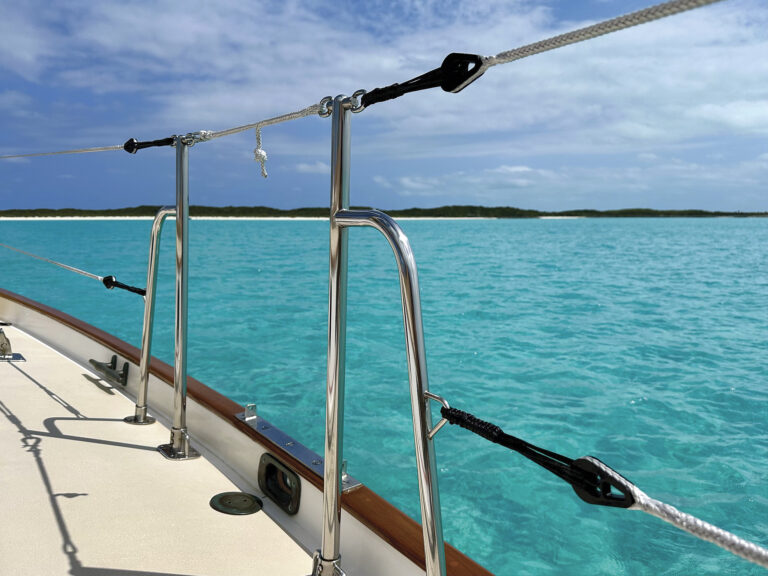
Rain Fly
Boats can become uncomfortably stuffy in warm rainy weather. A rainfly over an open forward hatch will invite a welcome fresh breeze while also keeping the rain out. A simple fabric trapezoid tied down in the corners and pulled up in the middle by a forward halyard does the job nicely. Sunbrella fabric to match the other canvas on your boat would be a logical choice.
The concept is simple enough: just like an umbrella, bigger is better. But you don’t want a cover that is so big it blocks the wind or prevents you from walking up the side decks to the bow should you need to get there. On my boat, I can adjust airflow and rain deflection by adjusting height. In heavy rain and wind, I lash the corners low to the deck at the stanchion bases to make sure all the wind-driven rain stays out. In light wind, I lash the corners higher up at the tops of the stanchions for superior airflow.
Fabric Works in Waltham, Massachusetts, custom fabricated my rainfly to the dimensions I provided. If you aren’t up for the sewing work, Fabric Works or your local canvas shop could be willing to help.
Parts: Sunbrella, webbing, grommets, and thread: $200
Labor: 8 hours

Anchor/Tri-color Light Upgrade
A quiet night on anchor is one of the best parts of the sailing life. As the sun sets, you’ll sleep better out there knowing your anchor light isn’t killing your batteries, and knowing that everyone can see you clearly. The older style incandescent anchor light consumes a hefty 25 watts of electricity. The newer LED fixtures offer impressive energy savings by producing a brighter light using only 3 watts of electricity. If your boat spends the winter with the mast down, this season presents the perfect opportunity to swap out the old fixture for the new.
While you’re at it, why not add a tri-color light? A tri-color light at the masthead will be far more visible than nav lights mounted on the bow and stern, especially in any kind of sea state. And, there’s no sense in powering three nav lights at deck level when a single tri-color light up top will do a better job while also saving battery power.
The Signal Mate TRIANC2P combines an LED anchor light with an LED tri-color light in one high quality masthead fixture. A clever wiring system allows you to power the sophisticated new dual LED fixture with the same pair of wires you already have running up the mast for your old anchor light. To select between anchor and tri-color, you simply press a DPDT (double pole double throw) reversing switch in the cabin to reverse the polarity to the fixture.
But wait, there’s more. This masthead fixture includes a built-in photo-cell sensor that will automatically turn off the light at sunrise saving even more power. If you’re absent minded like me, and often find yourself rowing ashore at noon only to notice that your anchor light is still wastefully burning away in the sky, this feature will be valuable.
Parts: Signal Mate TRIANC2P $371.
Labor: 3 hours if mast is down, a bit more if someone needs to go aloft in a bosun’s chair

Headboard Shackle
Halyard shackles can be tough on the hands. Opening them always seems to require just a little more thumb pressure than your pain threshold will tolerate, and you’re forced to resort to the multi-tool on your belt or the pliers in your toolbox. Sound familiar? Well, there’s a solution for this problem: The Schaefer 93-75 headboard shackle. I think it’s the sweetest piece of hardware in all of sailing.
The Schaefer investment cast main halyard shackle is double threaded, and always easy to open and close by hand. The captive pin can’t fall out, and the meticulous design is smooth, wide, and chafe-resistant where it meets the halyard eye-splice. This sturdy little piece of boat jewelry is built to last. Mine has been cut off worn halyards and spliced on to new ones several times and it’s still as good as new.
Splicing this marvel of metalwork into a halyard is easy enough. The tricky part is sourcing the product. Schaefer Marine has discontinued this item—something to do with Covid supply chain issues. So instead, you’ll need to scour the used sailboat hardware shops online and in person to find one.
Winter is the perfect season for this sort of treasure hunt. Whiling away an afternoon in a good used boat gear shop is what off-season sailing is all about. I always end up in the same quandary when I make a pilgrimage to these places: I’m certain I need a few things, I just don’t know which few things those are. It’s smart to have a goal when you walk in, and I’m here to tell you the Schaefer 93-75 is the top find.
Happy hunting.
Parts: Schaefer 93-75 headboard shackle. $???
Labor: 30 minutes for the splice, four winters for the search
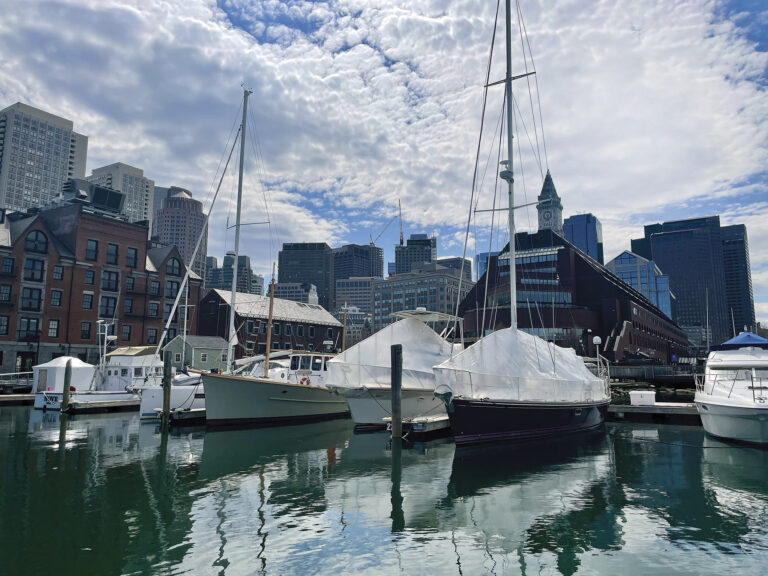
SAIL Contributing Editor Christopher Birch is the founder of Birch Marine Inc. in Boston. He and his wife are now cruising full-time aboard their 36-foot Morris Justine. Follow their voyage at www.EagleSevenSailing.com
November/December 2023