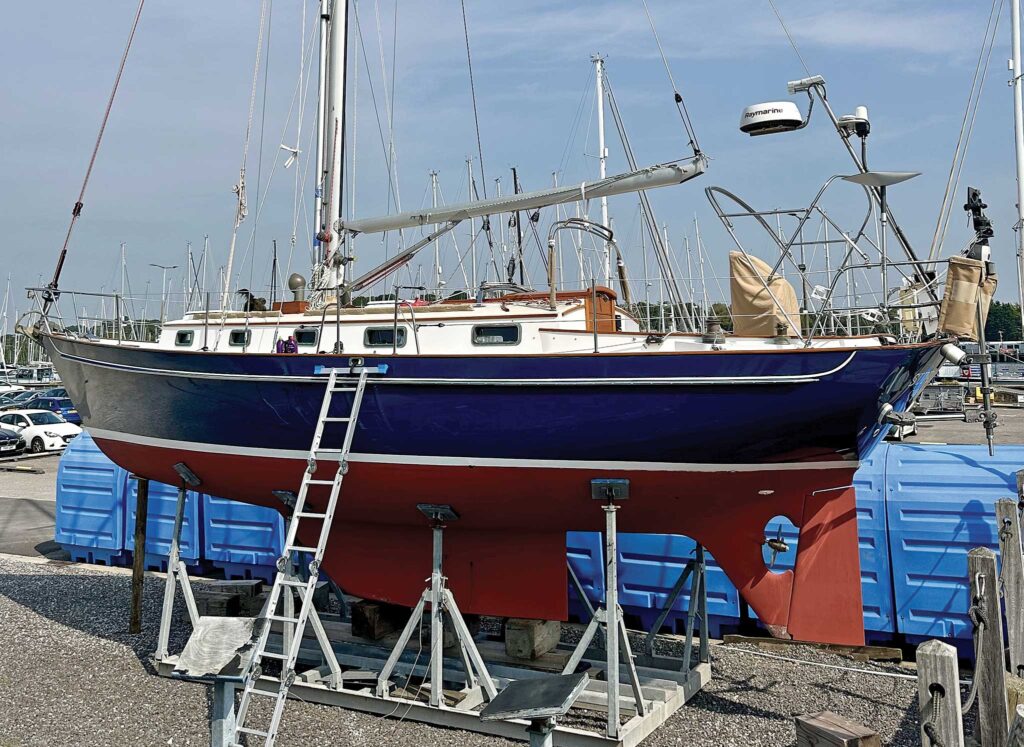
This story is excerpted from SAIL Contributing Editor Christopher Birch’s upcoming book The Four Seasons of Boat Maintenance (available for order soon)—a compendium of lessons learned during his 40-year career maintaining other people’s boats as the founder of Birch Marine Inc. in Boston. In this third preview excerpted for SAIL magazine, Christopher dives into the details of two of his 29 steps for winterizing.
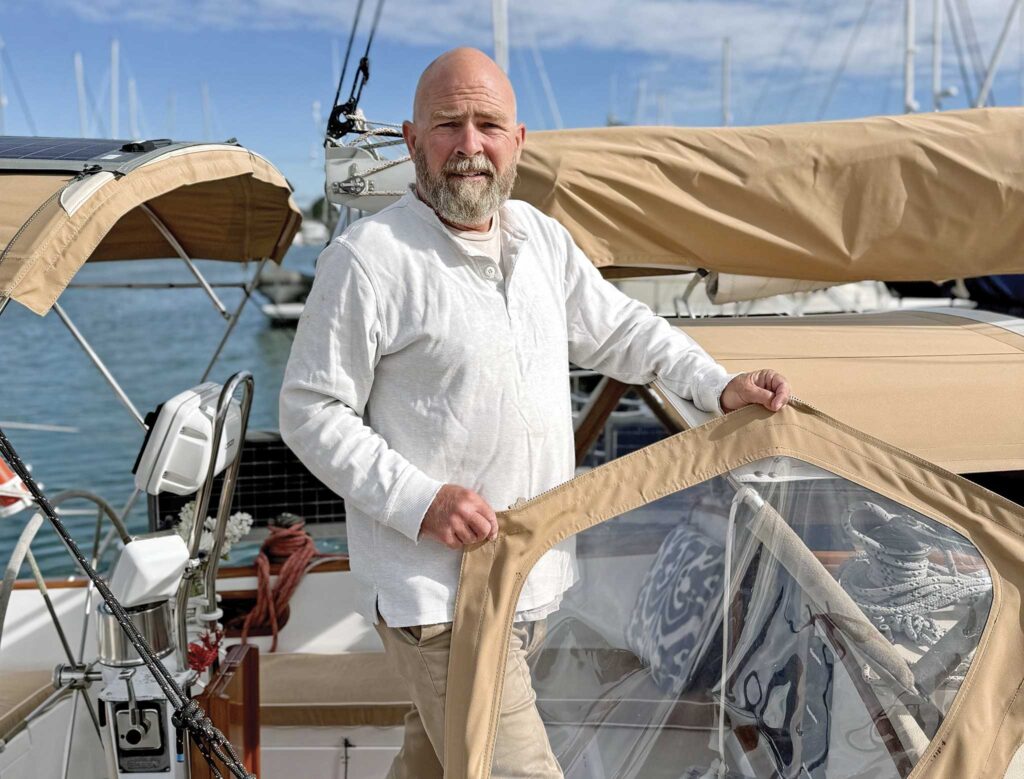
Canvas Maintenance
Boat owners often resist this particular line item on my winterizing checklist (see page 67 for the full list).
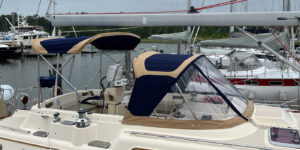
I’m not sure why it gets so much pushback, but I do know this work is important and should not be skipped over. Canvas dodgers, biminis, cockpit enclosures, sail covers, and all other summer canvas must be stripped off the boat prior to winter for the following reasons:
1. Canvas covers were not designed to handle snow loads. Snow is heavy stuff and will collapse flat-top canvas structures like biminis, cockpit enclosures, and dodgers.
2. Canvas is flammable. If it is not removed prior shrink wrap, it will likely get burned by the torches used in the shrink wraping process.
3. Canvas biminis, dodgers, and enclosures obstruct the framing work required for the shrink wrap cover (or other winter cover). And no, you can’t just throw the shrink wrap plastic over the canvas enclosures; see points 1 and 2 above.
4. Canvas snaps and zippers benefit from regular use. Without exercise, they will seize up, and the canvas will become difficult to remove quickly in anticipation of a midseason storm. Taking the cover off every fall and reinstalling it every spring gives the canvas zippers and snaps the healthy exercise they need.
5. Waxing and polishing work on deck makes a mess of your boat’s canvas. That cleaning and waxing work is coming right up in this fall worklist, so now’s the time to strip the canvas off the boat and get it out of harm’s way. As an added benefit, canvas removal exposes the stainless dodger and bimini bows for polishing just in time for when you have those cleaning products out.
6. Stripping the sails off the boat will be easier if the canvas has been removed beforehand.
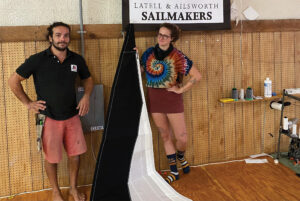
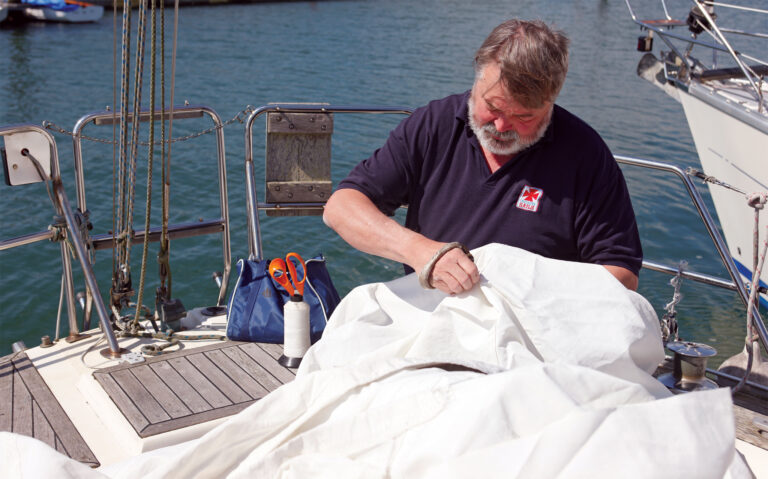
7. Boat canvas takes a beating from the sun, salt, and wind. It’s prudent to have it all cleaned and serviced on a regular schedule. “A stitch in time saves nine.” Fortunately, sailmakers and canvas shops offer exactly this sort of winter service. In addition to storing your canvas all winter in a warm, dry, mouse-free environment, they’ll also clean and waterproof the canvas, polish the eisenglass windows, lubricate the zippers, patch the chafe points, and repair all compromised stitching. Canvas covers last a lot longer when they receive this sort of winter spa treatment.
8. The dodger, bimini, and canvas enclosures on your boat are there to protect you and your crew from the weather. They are not there to protect your boat from the weather. Your boat will do just fine with those canvas covers removed. Everything mounted in the cockpit of your boat was designed to be out in the open and exposed to the weather. If pulling your canvas down leaves you fretting about the damage your boat might suffer as a result of being left uncovered, please know that you’re needlessly clinging to a security blanket that you should let go of.
This is one of those jobs where a helper comes in handy. Calm, warm, dry weather helps too. Those plastic eisenglass windows in your dodger and cockpit enclosure shrink dramatically in cold weather. It is often impossible to remove or install curtains containing these windows when the temps are cold. The exact temperature threshold will be determined by the size of the window and the design of the curtain. Eisenglass also becomes dangerously brittle and prone to cracking when it is cold. If a curtain is not coming off or installing easily, it’s always better to wait for a warmer day instead of forcing the fit. The warmer, the better. This is one of several reasons why this work item appears as early as it does in your fall worklist and as late as it does in your spring worklist.
Time Estimate: 1 hour
(Average 40-foot boat)
Supplies and Tools:
• Adjustable wrench.
• Screwdriver.
• Allen wrenches.
• Unlike sails, canvas covers usually don’t come with a handy storage/transport bag. A large, industrial-strength trash bag will help keep them loosely rolled and manageable for the trip to the canvas shop.
Notes of Caution:
• The eisenglass windows commonly found in canvas boat covers become brittle and are extremely susceptible to cracking when handled in temperatures below 50°F. Even in warmer temps eisenglass remains fragile and should be handled carefully. During transport, avoid loading sails, or anything else, atop the canvas in the dock-cart or in the back of your car.

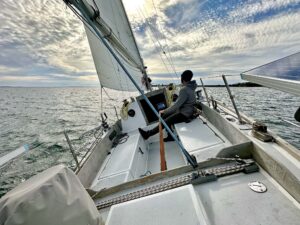
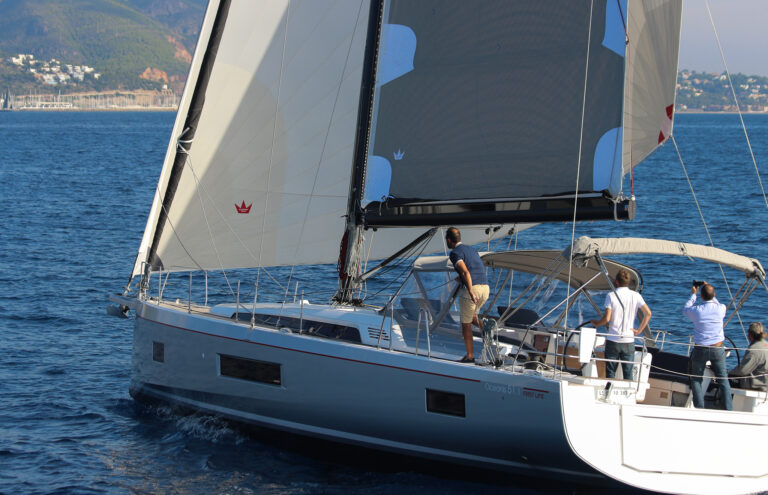
Sail Maintenance
Just like canvas, your sails also need to be stripped from the boat prior to winter. A furled sail won’t be affected by snow load, but it will burn just as easily when exposed to the flame from a shrinkwrapper’s torch.
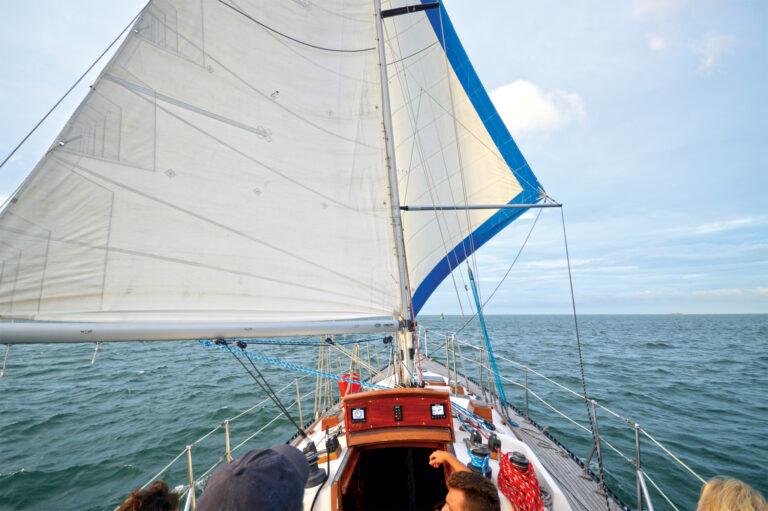
Besides, it’s time for the sails to get a bath. Furled and flaked sails are prone to collecting salt and dirt which will grow mildew and abrade the fabric of the sail. Annual washing in the massive industrial washers at the sail loft increases the life expectancy of the sailcloth. In addition to the wash, sails wintering at the warm, dry, mouse-free loft will also benefit from inspection and repair by the skilled eyes and hands of your sailmaker. Chafe points get patched, stitching is reworked as needed, and telltales are replaced.
Stripping, flaking, bagging, and hauling sails is another one of those jobs where a helper comes in handy. Calm weather helps too. If the breeze is up, consider moving to a mooring or anchorage to keep the bow into the wind before unfurling and dropping the sail to the deck.
Once the sails are free, flake them right where they fell on that nice clean deck that you just washed and waxed. (See item #3 on this worklist.) This might not be the easiest place to work, but it’s probably the cleanest spot around. Opting to flake them on a nearby lawn will leave ugly grass stains on the sails. Flaking on the dock will add a dusty film of static-charged grime and splinters.
Time Estimate: 4 hours
(Average 40-foot boat.)
Supplies and Tools:
• Adjustable wrench.
• Needle-nose pliers.
• Screwdriver.
• Allen wrenches.
• Sail bags – one per sail.
• Sail ties – one per sail.
Notes of Caution:
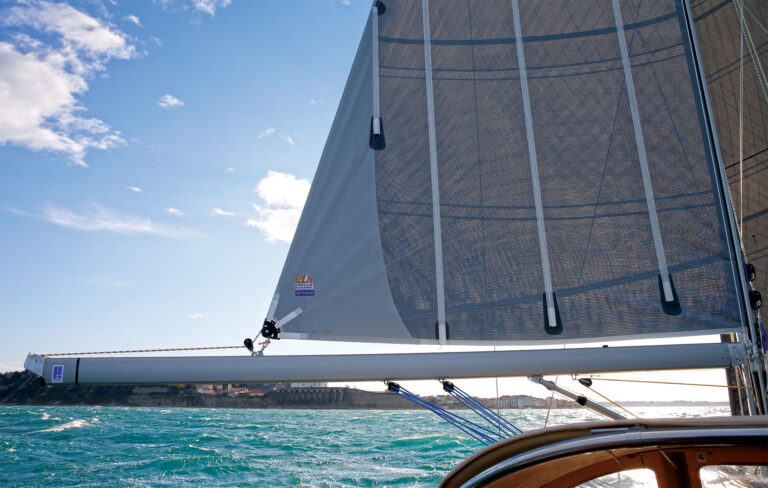
• The battens need to come out of the batten pockets before a sail can be flaked and bagged. Unfortunately, fiberglass battens love to slip and slide off the side of the boat. Once in the water, they sink and hide in the muddy bottom of the harbor, where they stay lost forever. These long, awkward things don’t need to go to the sail loft for the winter. Instead, it’s smart to get them safely stowed onboard as soon as they come out of the sails. On many boats, the inside of the boom is a great place for offseason batten storage. That hollow boom is always just the right length. Before stowing them, tape your battens together with electrical tape so the small ones don’t get stuck mid-boom.
• Loose slab reefing lines will benefit from a quick stopper knot at their bitter ends to prevent them from accidentally getting lost inside the boom.
• Make sure your sail bags are labeled or tagged with your name and/or the boat name so the sails don’t get misplaced at the loft.
Fall Boat Decommissioning and Winterization Checklist
To be completed in order.
Phase 1: Near the end of the boating season:
1. Varnish.
2. Remove the canvas and send out for washing, minor repairs, and storage.
3. Clean, compound as needed, and wax from the rail up, including stainless.
4. Remove the sails and send out for washing, minor repairs, and storage.
5. Rig the winter running rigging. Wash, soften, dry, and stow summer lines.
6. Clean the bilge, engine space, cockpit lockers, and anchor chain locker.
7. Clean the cabin interior, including storage lockers and contents thereof.
8. Add fuel stabilizer to the fuel tank(s), then fill those tank(s) with fuel.
Phase 2: Just prior to haul-out:
9. Winterize the freshwater system and the watermaker.
10. Winterize the sanitation system: toilet, macerator pump, and holding tank.
11. Winterize the bilge and bilge pumps.
12. Winterize the air conditioning and heating systems.
13. Winterize the refrigeration system. 14. Winterize the saltwater wash-down pump.
15. Service the engine(s): Recommended season-end fluid and filter changes.
16. Service the generator: Recommended season-end fluid and filter changes.
17. Service the batteries.
18. Service and winterize the dinghy outboard engine.
19. Clean and stow the dinghy.
20. Perform a full systems check.
Phase 3: After haul-out or final move to winter storage slip:
21. Clean the waterline.
22. Clean and wax the topsides from the waterline to the rail.
23. Winterize the engine(s): Flush, fog, and seal.
24. Winterize the generator: Flush, fog, and seal.
25. Open all seacocks to drain if boat is wintering out of the water on the hard.
26. Shrinkwrap the boat.
27. Set out dehumidifier hangers.
28. Send the prop(s) out for tuning and service.
29. Diver to change the zincs if boat overwinters in the water.
SAIL Contributing Editor Christopher Birch is the founder of Birch Marine Inc. in Boston. He and his wife, Alex, are now cruising full-time aboard their 36’ Morris Justine. Follow their voyage at Eaglesevensailing.com
November/December 2025