
Servicing fuel injectors on a diesel engine is something most any boat owner can accomplish with a few basic tools. The job is especially easy because it really just involves getting the injectors out and sending them to a diesel shop. Actually testing and rebuilding injectors requires specialized equipment and knowledge that most of us do not possess.
Check your engine manual for recommended service intervals. My 44-year-old Perkins 4-236 recommends an injector service every 1,000 hours. On older engines, service is normally performed at regular intervals, but for some newer engines, the manual will suggest you only service injectors if you notice a problem, such as black smoke, loss of power or unburned fuel in the exhaust. In any case, removing the injectors is pretty straightforward, though there are some tricks to the process.

The first trick is to be absolutely, fastidiously clean. When you remove the injectors you will be exposing the lungs of your engine; any contamination that gets in can do major damage. The threat is aggravated because injectors are set deep into wells in the engine’s cylinder head. When you remove an injector, dirt and debris want to fall down the well and into the cylinder. If the contamination is just a bit of carbon, it will be blown out when you next start the engine, but if it’s a paint flake or—God forbid—a metal shaving, it could do real damage.
[advertisement]
Therefore, before you do anything, go over your entire engine with some clean rags and household spray cleaner, removing every bit of dirt you can. After that, unleash the shop vac. This will remove dirt where rags can’t reach. You’re also going to want to vacuum inside the injector wells after you’ve removed the injectors. To do this, tape some sort of smaller hose to the end of your regular vacuum hose if you don’t have a fine cleaning attachment that fits.

Once your engine is clean, turn off the fuel supply to the engine, so no fuel will find its way to the injectors from the fuel distributor (the feed lines). Some may still dribble out of the leak-off lines since they are usually connected to the fuel supply and/or the return lines, so be prepared to catch any spills.
The next step is to remove the feed lines and leak-off lines and block them off with plastic and tape to prevent dirt from getting in. After that, it’s time to remove the injectors, which will be fastened to the engine either with bolts or studs and nuts.

You will then probably find the injectors are stuck in place. Corrosion, carbon and a tight fit can make it hard to loosen an injector. Some gentle turning and pulling with a wrench or vice-grips should free them up, so you can pull each one straight out. Crud will inevitably fall down the well, so immediately stick your shop vac hose down the hole and suck it out.
Injectors are sealed to the cylinder head with copper washers, which will either stick to the injector or to the bottom of the injector well. In the latter case, a long screwdriver can usually get it out. The new washer will need to seat perfectly, so shine a light into the well and clean it out carefully, using the vacuum to do most of the work. Plug up the injector wells with wads of plastic when you’re done.
Once you’ve removed all of your injectors, it’s off to the shop with them. These facilities are variously known as diesel shops, injection shops or diesel service centers. There’s one in pretty much every town around the world. The folks who work there are usually friendly to anyone who walks in with injectors in hand and actually knows what they do. When I circumnavigated, my first injector service was in David, Panama, at Servicio de Injectores Pitti, where they gave me a pen, a shirt, a hat and a Christmas card to thank me for coming in.

At the shop they will disassemble your injectors, clean them and replace various seals, springs and washers. In some cases they’ll need to replace the nozzles, depending on the status of the spray pattern and atomization of fuel. Injectors atomize fuel at a specific pressure, and the shop will test and adjust them to this pressure. The going rate seems to be $25 to $50 per injector—twice as much if they need new nozzles. The shop usually cleans every speck of paint and corrosion off the injectors and returns them looking brand new. They should also supply all the copper washers you’ll need to reinstall the injectors—one big one for the seat of each injector, and two little ones for the banjo bolts on the return lines. Be sure to get extras just in case.

To reinstall, run the removal instructions in reverse order. There are specific torque settings for the fasteners, so it’s worth cleaning up the threads with taps and dies, or giving them a good wire brushing and greasing. Drop a copper washer into each injector well and orient it correctly with a screwdriver. (They won’t stay on if you try to put them on the injector nozzle before insertion.) Insert each injector and tighten the fasteners to the manufacturer’s specifications. If you don’t know the specs or don’t have a torque wrench, use “mechanic’s feel” to tighten them just enough to bed the base of that steel injector into the soft copper washer.
[advertisement]
Next replace all the return lines and any other bits and pieces you might have had to remove to get to the injectors. Bleed the fuel system in the manner recommended by the engine’s manufacturer, and you’re ready to start it up. Inspect the running engine closely during the first few minutes of operation. Any leaks between the injectors and cylinder head will produce a loud hissing noise, and the engine will probably idle roughly. If this is the case, tighten the injector fasteners accordingly. Look closely for fuel leaks at all unions and tighten if you see any dribbling.
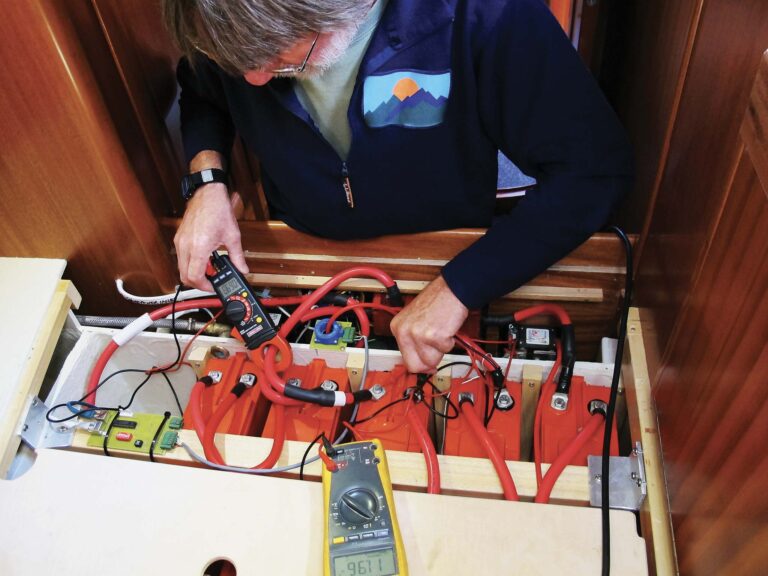
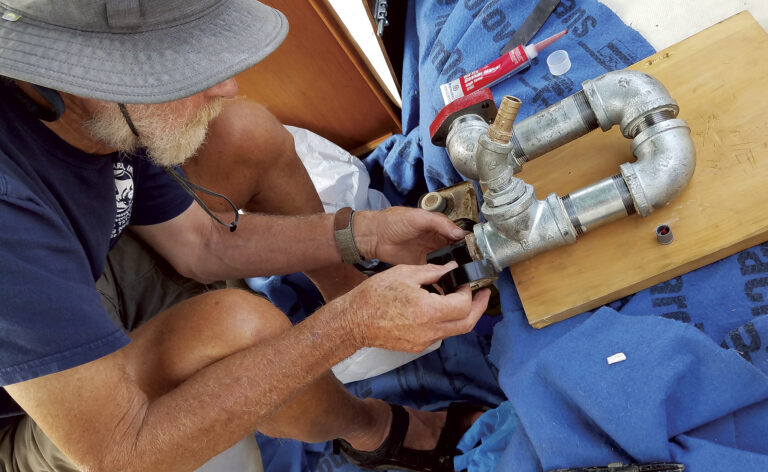
Photos by Clark Beek