A desire for cold beer has unforeseen consequences
It all started with the icebox, or rather the not-quite-ice box, on our classic Swedish sloop. It wouldn’t keep ice for more than a few hours, which meant we were forever lugging ice-filled coolers on and off the boat. After a few summers of warm beer I installed an electric fridge, which works perfectly but sips away at battery capacity to the tune of a couple of amps an hour. Typically, the 30 minutes or so of motoring at the end of a weekend sail was not enough to top up the 200Ah house battery bank, and I’d return a few days later to find it around 12.2 or 12.1 volts, annoyingly close to, or past the 50-percent-discharged level.
Clearly, I had to find a way to charge the batteries in my absence, which meant wind or solar power. I toyed with the idea of installing a wind generator, but it seemed like too much expense and hassle; and, lacking a bimini, there was nowhere convenient to place a solar panel where it wouldn’t be either in the shadow of the rig or in the way of the crew.
LOCATION, LOCATION, LOCATION
The only way I could think of to get out of this conundrum was to mount a solar panel on a pole at the transom, preferably so that it could be tilted and swiveled to face the sun (Top Photo). However, an Internet search for “solar panel pole mounts” yielded listings for either crude un-marinized land-based mounts or a few well engineered but excruciatingly expensive “marine” mounts. The latter were usually sold as part of a package that included panel, pole and mount, and hence had sticker prices that were north—sometimes way north—of $1,000. Because I wasn’t sure I would even end up liking a pole-mounted system, or whether I would ditch it in favor of a wind generator, there was no way I was going to spend that much money on an experiment. I would have to find a way to do this on the cheap.
Fortunately, solar panel prices last summer were at near-historic lows, and I found a 50-watt monocrystalline panel on eBay for $98, shipping included. Bargain! That left just the pole, mount, wiring and a voltage regulator. On one of my regular visits to West Marine, I noticed that Magma makes a swiveling barbecue mount that fits into a rod holder. It would be easy enough to affix that to the solar panel, which I could then angle toward the sun.
Now, about that pole. Onlinemetals supplied me with a 6-foot length of Schedule 40 aluminum pipe with an inside diameter of 1.6in, just a little more than the diameter of the Magma mount, which dropped right into it. I also bought a 4in x 3ft length of 1/4in aluminum plate to connect the barbecue mount to the solar panel. Total cost (including a couple of odds and ends for other projects) was under $50. Perfect! The only problem was the markings on the pole—which I covered with a couple of coats of Rust-Oleum spray paint.
Now I just had to figure out how to mount the pole on the boat without drilling any holes. It was obvious that it should be fixed to the sternrail, but how? A visit to the trusty McMaster Carr website was clearly in order. There, I purchased a pair of 304 stainless steel pipe clamps, along with a pair of vibration-damping clamps, also of 304 stainless steel. I clamped the pole to two offcuts of 3/4in teak I’d found in the garage, and then clamped the teak to the sternrail (photo 2). The pole—its sharp lower end capped with a $2 PVC plumbing fitting—rests on the deck so the brackets don’t have to carry the 16lb weight of the panel. So far there has been no need for any additional bracing.
Then it was time to connect the solar panel to the batteries. My Renogy panel came equipped with male and female MC4 connectors, and because I didn’t have access to a tool that could crimp these, I opted to buy a length of 10AWG single-wire cable with a male terminal at one end and a female at the other. I then cut that in half and hooked up the connectors (photo 3). Had this been a permanent installation, I would have tried to neaten everything up by running wires inside the pole, but as it was I just secured them with white cable ties. (I would also have had the pole powdercoated rather than painting it).
WHAT IT COST
On a panel of this size it’s essential to fit a regulator so you don’t overcharge your batteries. The 50-watt panel was way more than I needed for trickle-charging, but I also wanted it to mitigate the current draw from fridge, plotter and stereo while underway, which meant trying to coax every available watt from it. I ended up with a Genasun 5-amp MPPT controller (photo 4), which would make the most of my new panel (see sidebar). Hooking this up to the battery bank was simplicity itself; I connected the positive and negative wires from the panel, then hooked up the positive wire to the house battery bank and the negative to the ship’s common negative bus bar.
SEEING THE LIGHT
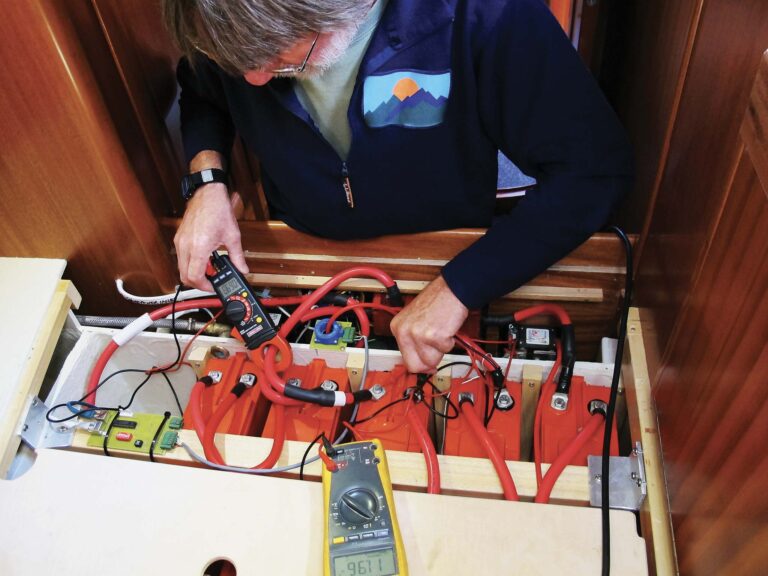
As soon as I connected the wires to the panel, the battery monitor registered a 3.4 amp charge (photo 5). Not bad. What has surprised and impressed me is that the combination of a monocrystalline panel and the MPPT controller seems to suck every last milliamp of energy out of the available light—I’ve had it registering an amp or more even when it’s overcast, and half an amp when it’s raining.
For the most part, the panel seems not to be affected by shade from the rigging, although there’s no doubt tilting the panel toward the sun (photo 6) in the morning and afternoon does help, as long as I remember to do it. The panel generates enough power on a sunny day to meet the demands of the stereo, fridge and nav instruments, but not on overcast days. Installing a solar panel, of course, is only part of the energy-management equation—you need to reduce demand by using LED lighting (or oil lamps at anchor) and should also install a smart regulator or Sterling alternator-to-battery charger to minimize your engine running time.
Then there is the aesthetic question—I certainly would not pop a pole and a big solar panel on the transom of a Concordia yawl, but if you believe that form follows function, you shouldn’t mind a bit of industrial chic on your boat.
Controlling Solar
If you look at the specs on my Renogy panel, you’ll see it isn’t actually a 12-volt solar panel—its optimum operating voltage is 17.8 volts. All “12 volt” panels actually put out between 16 and 18 volts.
My 50w panel is rated at 2.8 amps at 17.8 volts—2.8 x 17.8 = 49.84 watts. Its peak power voltage (PPV) is 17.8 volts. A typical low-cost Pulse Width Modulation (PWM) controller will connect directly to the battery, whose voltage is much lower, so it drags down the panel’s output: 2.8 x 12 = 33.6 watts. The remainder of that current—16 valuable watts—is not being utilized. Between 20 and 35 percent of the panel’s output will be lost.
A Maximum Power Point Tracker (MPPT) controller electronically compares the panel’s output to the battery voltage and converts the panel current into the optimum voltage to get the most amps into the battery. MPPT controllers can be up to 98 percent efficient, which translates to power gains of up to 40 percent in winter and 15 percent in summer (solar panels are more efficient in colder temperatures).
Hence an MPPT controller can cost several times more than a PWM controller; but if you are looking for more from your panel(s) than merely trickle-charging your batteries in your absence, it’s a worthwhile investment.
Resources
Genasun, genasun.com
Online Metals, onlinemetals.com
McMaster Carr, mcmaster.com
West Marine, westmarine.com


