
Photos by Andy Howe
When we took the cover off our Sabre 362 this spring, I was faced with the unhappy sight of a half-drained compass with a severely crazed globe. When we put the boat to bed last fall I knew that in the spring I might have to perform some work on the compass, but did not expect to see it completely compromised. As I found out, any cracks in the globe increase evaporation of the fluid, allowing moisture into the globe, and the resulting freeze-thaw cycle over the winter will just increase cracks, a downward spiral. The harsh winter was not kind to our compass, so a reconditioning was needed.
While there are many online videos covering compass reconditioning, I called the folks at Ritchie Navigation (who made my compass 32 years ago), figuring the experts would do a better job than I could. I already had enough spring projects.
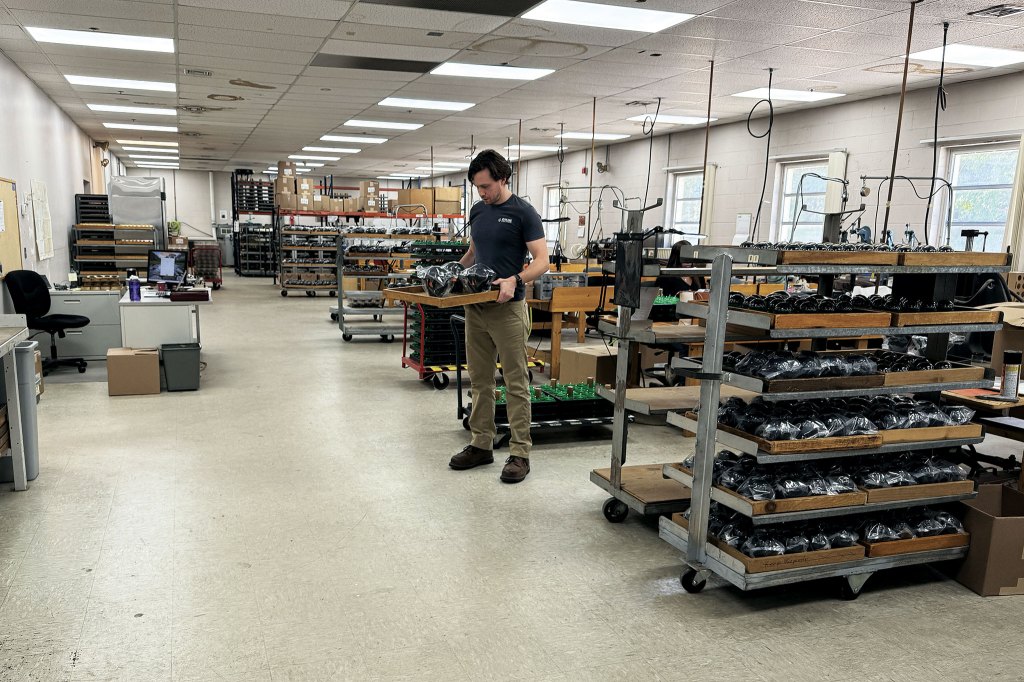
Ritchie has been around since 1850 and has been family-owned by the Sherman family since the early 1950s. They have made thousands of compasses for all kinds of vessels and have many technological and manufacturing innovations and improvements to their name. Ritchie currently offers dozens of compass models for all forms of watercraft and mounting styles, delivered to countries all over the world. Where practical, everything is made in-house, using locally sourced parts wherever possible.
Ritchie offers a reconditioning program for their Navigator and GlobeMaster models, the latter of which are commonly installed on sailboat binnacles, including ours. A reconditioned compass carries a one year warranty versus five years for a new compass. My budget didn’t need to stretch to a new compass so I opted for reconditioning as nothing else was changing around the binnacle that might require a new unit.
The reconditioning replaces the parts that are inside the compass “capsule” and refills the fluid to factory specs. The process is straightforward, done for a fixed price, and, depending on when the compass is sent out, can be completed in three to six weeks. They currently recondition nearly 150 compasses per year.
I opted to hand deliver my compass to Ritchie in Pembroke, Massachusetts, observe the process, and then have them ship it back to me after final tweaking and observation. My compass was documented, inspected, and after a couple of questions about the installation (voltage system on the boat and color of night lighting wanted) the refit began.
The technician gathered the new parts to be replaced, did a quick disassembly of the globe and compass capsule (what holds the guts of the compass), and then began the assembly of what would become my new compass.
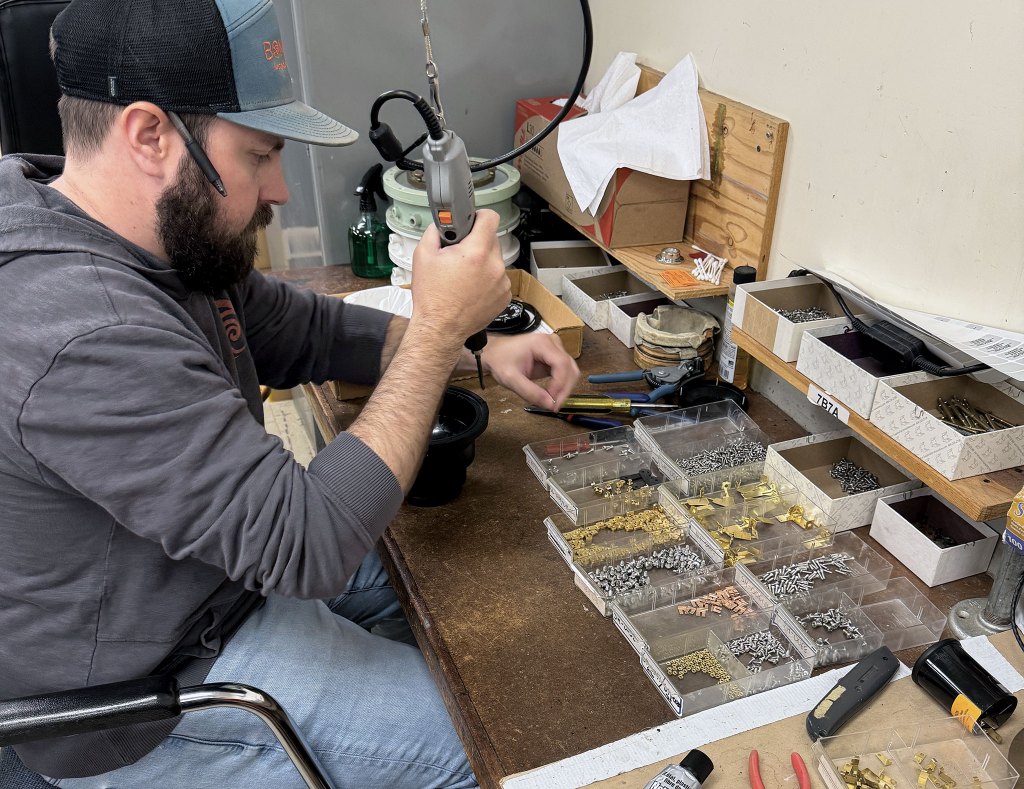
A new diaphragm is installed into the bottom of the capsule and the new compass card with balancing pin is installed in the gimbals using annealed fasteners (to avoid introducing any magnetic interference). Then an important piece called the balance tab is installed to the underside of the card (this balances the card and provides a level of damping to its motion when the boat is rolling and pitching). The whole card and gimbal assembly is installed in the capsule, and then the assembly is placed on a leveled platform where the balance tab is adjusted until the card is perfectly balanced. Finally, a seal is placed into a groove in the top of the capsule, the globe is fitted onto the seal, and the bezel is installed over that to seal the entire unit.
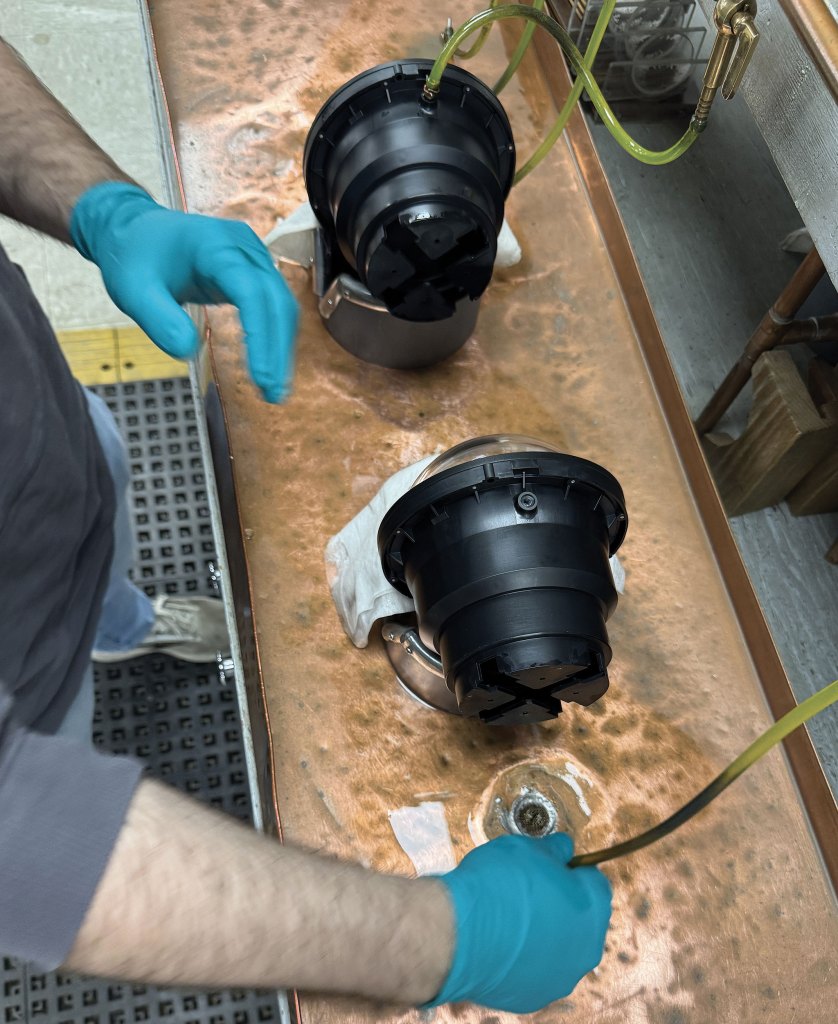
Filling the compass with fluid is next. Ritchie now uses a fluid called Isopar L, similar to the previously used mineral spirits but easier to use and ship, and it doesn’t freeze. Prior to the ‘60s a mix of water and alcohol was used (some old timers reportedly refilled compasses with vodka!). The fluid provides the major damping for the compass so the compass card is not wildly gyrating with a boat’s every seagoing motion.
Ritchie has a custom filling station, its manifold able to fill multiple compasses at once safely. Fluid is piped into the compass, and once full a bit of gentle shaking ensures there are no bubbles. This process takes a few minutes, during which I checked out the manufacturing facilities with many different compasses under construction in batches.
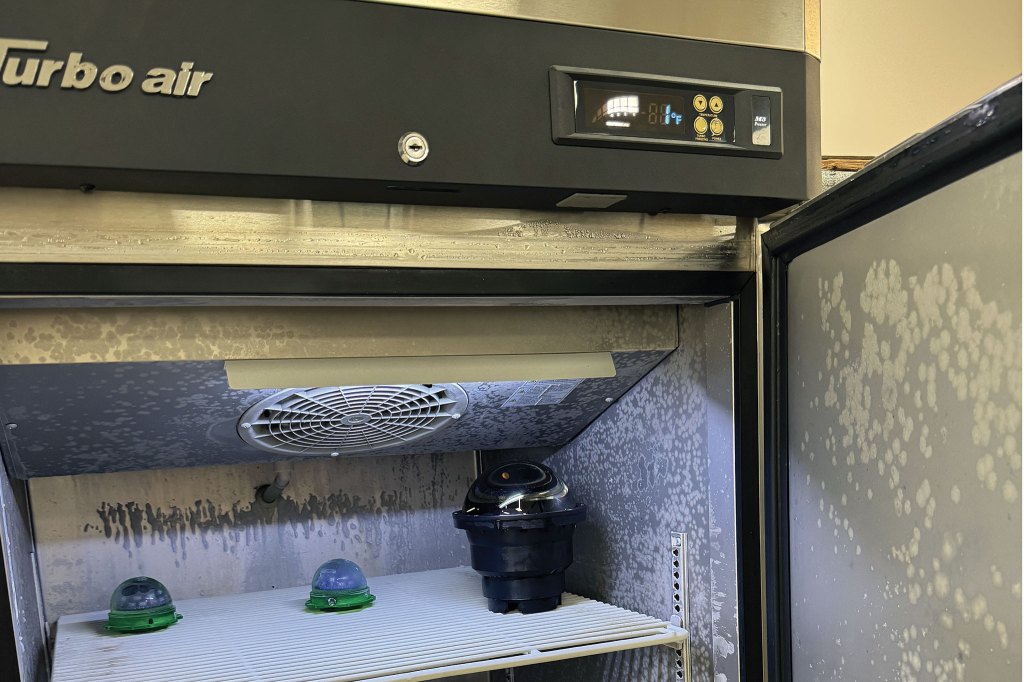
Once full of fluid, the compass is placed into a vacuum device to check for additional bubbles. If needed, more fluid can be piped in. Then the compass heads to the freezer (set to -10°F) for an overnight stay. This provides a final check of the seal and releases any latent bubbles. Once the compass is brought back up to room temperature, the fluid will expand to fill the capsule and the compass is ready to go and can then be packed to ship back to the boat owner.
If needed, the boat owner is responsible for getting the compass “swung” by a professional adjuster after the refit (see left), although DIY compass swinging is possible. Often, no adjustment is needed post reconditioning as none of the new parts induce magnetism, nor are the adjusting magnets on the base moved from their original settings for your boat.
In my view, the compass is one of the most important pieces of equipment on the boat, something that we use daily, rely on unequivocally, and expect to work for us in all kinds of weather and conditions. Having a compass in perfect working order is important to me and should be for every boat owner.

Swinging the Compass
Compass adjusting is an important final step in any compass installation. The goal is to eliminate deviation in the compass, brought about by the unique characteristics of each boat that potentially introduce deviation to the earth’s local magnetic field. I contacted a local adjuster, David Witherill of Pathfinder Compass Service and arranged a time to “swing the compass.” Literally, that is what happened as Dave called out different bearings for me to settle up on once underway and in a clear area of the harbor. We worked through the four cardinal points while Dave compared my heading to the calibrated gyro compass he uses for this procedure, and then tweaked the two sets of magnets under the compass until my compass matched the gyro. A final check around the intercardinal compass points completes the process. The whole thing took about an hour, and I was left with a perfect compass and a deviation card showing zeros across the board. Occasionally, a compass will be left with a small amount of deviation on specific headings that will be reflected on the card and used in navigation calculations. The compass should be checked any time the boat owner does a major refit that introduces “big iron” (a new engine, for example) or a complete rewiring of the boat. However, today’s modern electronics have such a low power draw that installing a new suite of electronics is very unlikely to introduce any errors. Interestingly, Dave said that hydraulics can often introduce errors as well, so be aware of any changes to that system if your boat has one.
This article was originally published in the October 2026 issue.