
6. Keep water out of your fuel. Fuel may be contaminated with water when you buy it, but more often than not it comes in through outboard tank vents that are located too low on the side of the hull. The first time the boat gets into large following seas offshore, each wave that surges past the hull pushes a little slug of water into the tank. These vents should be as high as possible (I always put mine in the cockpit coaming or cabin side). Then there’s the deck fill fitting, which boatbuilders seem to like to place at a low point on the side deck where there is often standing water. If this is where yours is, I’d add a valve below the fill to close it off when you’re not refueling. Better yet, relocate the fill fitting to a dry area (mine is in the cockpit). At the very least, check the seal on the filler cap.
7. Keep water out of your engine. It can come in through the raw-water cooling system or the exhaust. On the raw-water side the problem is generally a failed antisiphon valve or no valve at all. The engine comes from its manufacturer without a valve, and it is up to the boatbuilder to install one when the engine is installed, but this is sometimes forgotten. You need to locate this valve and keep it clean of salt crystals.
The valve is usually found inside a small cap screwed to the top of a vented loop mounted somewhere above the engine. Unscrew the cap and then wash the rubber valve inside in warm water. On the exhaust side, the exhaust hose must be looped above the waterline at all angles of heel. If it is not high enough, large following seas can drive a slug of water up and over the high spot, slowly filling the exhaust system, and then the engine, with water. Some offshore sailors install a valve in the exhaust line and close it at sea, but then you must remember to open it before starting the engine.
8. Run a capacity test on your batteries. Most problems on cruising boats involve the electrical system, starting with the battery bank. To test capacity, first fully charge the batteries, and then impose a load that is 5 percent of their rated capacity—for example, if the battery bank has a total rated capacity of 200 amp-hours (Ah), put a load of 10 amps on it. This is best done by turning on a number of lights.
If you don’t have an ammeter in your system (you should), you can calculate amperage based on the wattage of the lights. Divide watts by 12 for a 12-volt system and by 24 for a 24-volt system (for example, a 20-watt light on a 12-volt system draws 20/12 = 1.7 amps). Under a 5 percent load, a healthy battery will hold up for 20 hours before its voltage falls below 10.5 volts on a 12-volt system; 21.0 volts on a 24-volt system.
You need to pay attention to the voltage only during the last few hours of the test. When the battery gets close to crashing, voltage will start dropping rapidly. If your batteries are below 80 percent of their rated capacity (16 hours at 5 percent load before they crash), you should replace them. If they are okay, you need to immediately recharge them. You should not do the test too often—it’s hard on the batteries.
9. Testing for voltage drop is also very useful. Test for voltage with your multimeter probes running from the battery’s positive side to the positive terminal on the starter motor (that is, positive to positive; if the probes don’t have a long enough lead, just add an extra length of similar-sized wire) and have someone crank the engine. Note the voltage reading. What you are measuring is the voltage drop in this side of the circuit (power lost to heat in the cables and terminals, as opposed to the power actually getting to the starter motor). Do the same from the starter-motor case to the battery’s negative side. Add the two voltage-drop values together. If the result is greater than 1.5 volts on a 12-volt starter, you have excessive voltage drop that may cause cranking problems if the engine is cold and/or the battery is somewhat discharged. It is caused by undersized cables and/or poor connections and/or damaged points inside the solenoid. One way or another, you must sort it out.
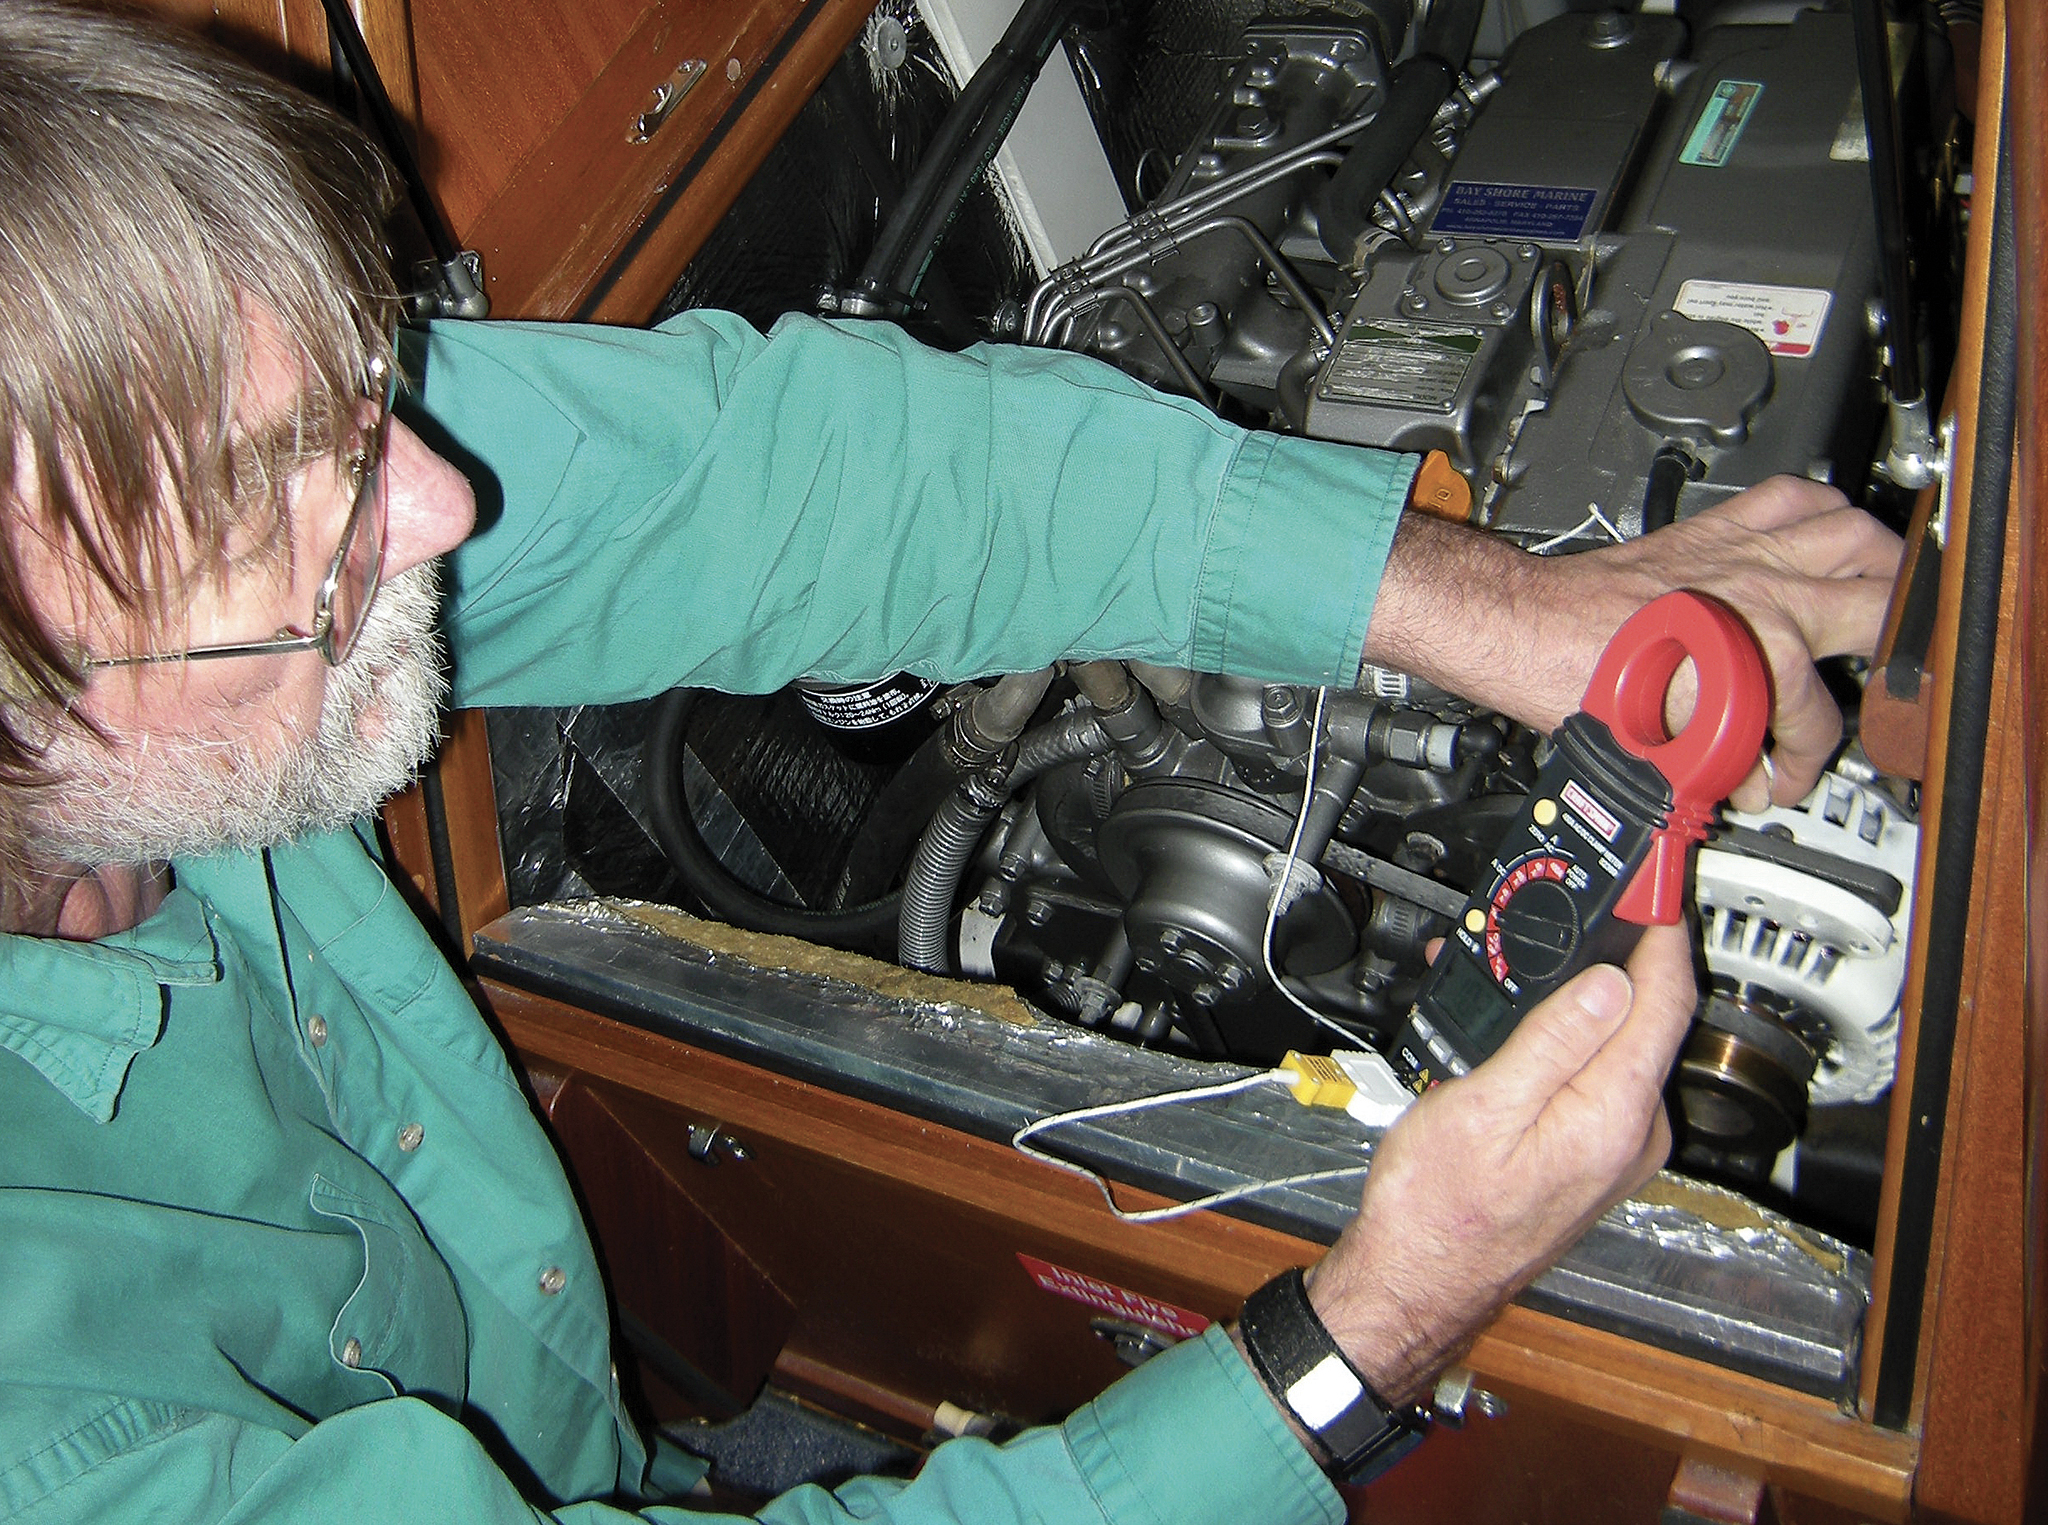
10. Finally, test the alternator for voltage drop. First, discharge the batteries somewhat. Then, start the engine and rev it up to at least 1,500 RPM. The alternator should go to full output for at least a short period of time. Immediately measure for voltage from the alternator’s main output stud (marked “bat” or “+”) to the battery’s positive post. You are measuring voltage drop in the charging circuit. It should not be more than 0.4 volt in a 12-volt system and 0.8 volt in a 24-volt system (unless you have isolation diodes, in which case add another 0.6 volt). If the voltage drop is higher (and it frequently is), your DC system is underperforming, once again as a result of undersized cables and/or poor connections.
Now place the meter probes across the house-battery posts (positive to negative) and watch the voltage. It will climb and then stabilize. If this stabilized voltage is much below 14.2 volts on a 12-volt system or 28.4 volts on a 24-volt system (it commonly is), your house batteries are being perennially undercharged, which will once again result in an underperforming DC system and will also shorten battery life. You’ll need to consult my Boatowner’s Mechanical and Electrical Manual, or an electrician, to sort this out.
This sounds like a lot of work, but in fact, once you’ve done it the first time and figured out where everything is, other than checking the chainplates, it’s very little work. It will head off some potential failures that are, unfortunately, more common than they need to be.
Nigel Calder commissions all his boats, including his new Mal 46, Nada.


")


